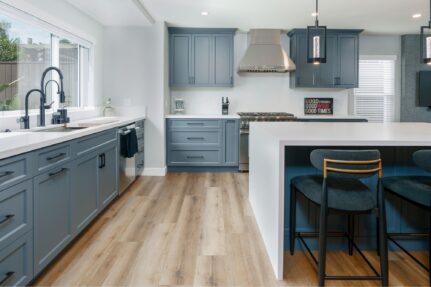
4 Phases of a Successful Remodel
01.
- Share this article
-

-

-

-

-

-

One of the most common sources of anxiety in a home remodel isn’t the cost or the timeline — it’s not knowing what’s happening. Walls come down, workers come and go, and for weeks at a time it can look like nothing is progressing. Understanding the four phases of a remodel helps you set realistic expectations, ask the right questions, and stay grounded when your home is in a state of controlled chaos.
This guide walks through each phase in the order it happens — what’s being done, why it happens when it does, and what you should be paying attention to as a homeowner.

Before Phase 1: The Pre-Construction Stage
A lot happens before the first wall comes down — and this stage often takes longer than homeowners expect. Pre-construction is where the entire project is designed, permitted, and planned.
Design and selections
In a design-build firm like Lars, the architect, designer, and project manager work together to develop your floor plan, elevations, and material specifications. This is the phase where you make every finish selection: tile, cabinetry, plumbing fixtures, flooring, paint colors, hardware. Selections need to be finalized before construction begins — changes made after work starts are expensive.
Permitting
Once design drawings are complete, permits are submitted to the City of San Diego’s Development Services Department. Permit review timelines vary by project scope — simple interior remodels may qualify for over-the-counter review, while additions and structural projects go through formal plan check that can take 6 to 12 weeks.
Your contractor manages the permit process, but you should know what’s been submitted and when approval is expected before the construction schedule is set.
Procurement
Long-lead items — custom cabinetry, specialty tile, appliances, windows — are ordered during pre-construction so they arrive when needed. In the current supply chain environment, some items have 8 to 16 week lead times. A well-organized contractor tracks every order and builds the delivery schedule into the construction timeline.
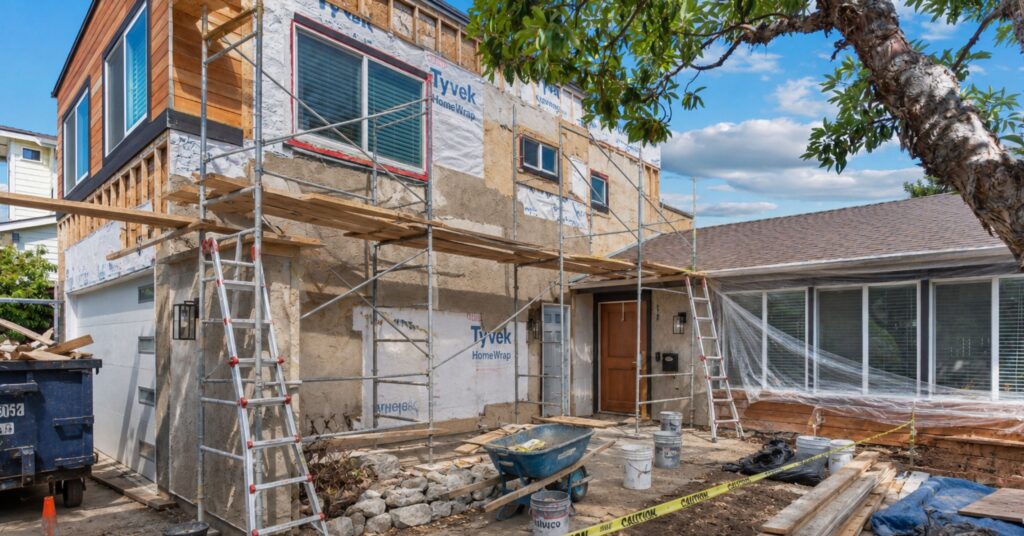
Phase 1: Demolition, Hazardous Materials, and Framing
Demolition
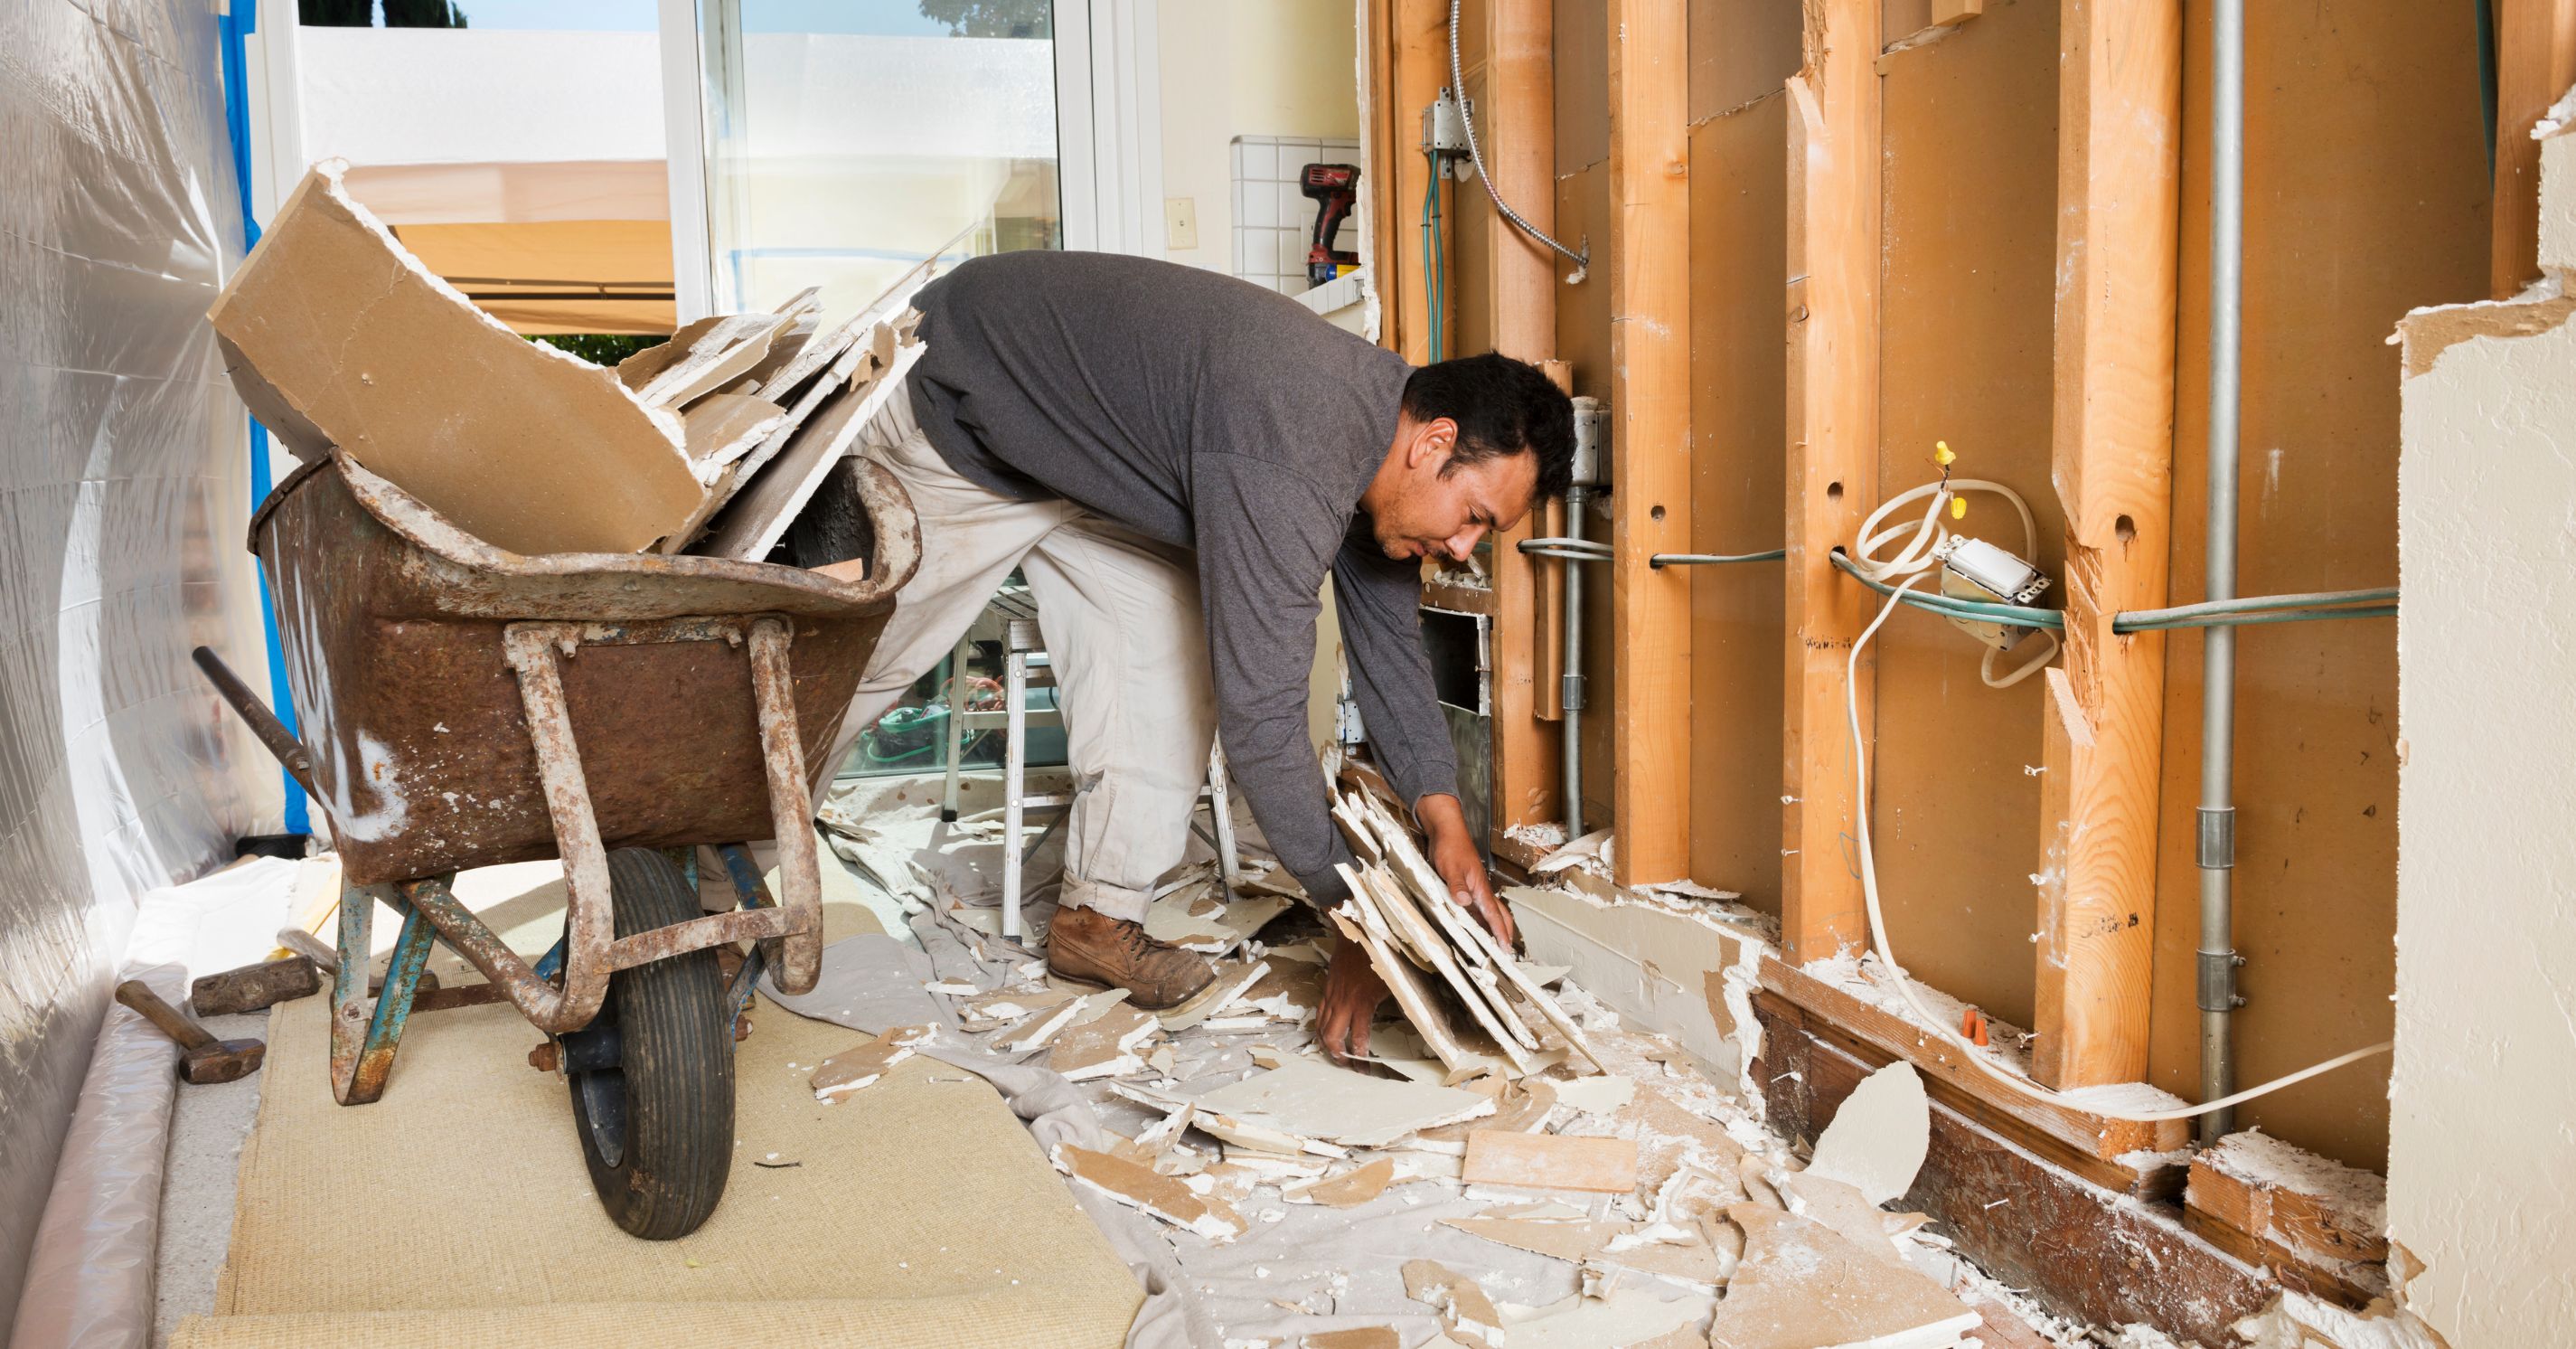
Demo day is viscerally satisfying. Walls come down, old fixtures come out, and the space is stripped back to its bones. For homeowners, it’s often the first time the project feels real. For your contractor, it’s when the true condition of the structure is revealed.
Demolition proceeds carefully, not just forcefully. Your contractor should be identifying what to save (structural members, sound wiring, usable framing) versus what needs to go, and disposing of debris per local requirements.
Hazardous materials
Homes built before 1978 may contain lead paint; homes built before the mid-1980s may contain asbestos in floor tile, pipe insulation, or textured ceilings. If hazardous materials are discovered during demo, work in that area stops until a licensed abatement contractor completes remediation. This is non-negotiable under California law and for your family’s safety.
A good contractor flags the potential for hazardous materials before demo begins and has a plan for handling them if found. Surprises in this phase add cost and time — they’re not something to be worked around.
Framing
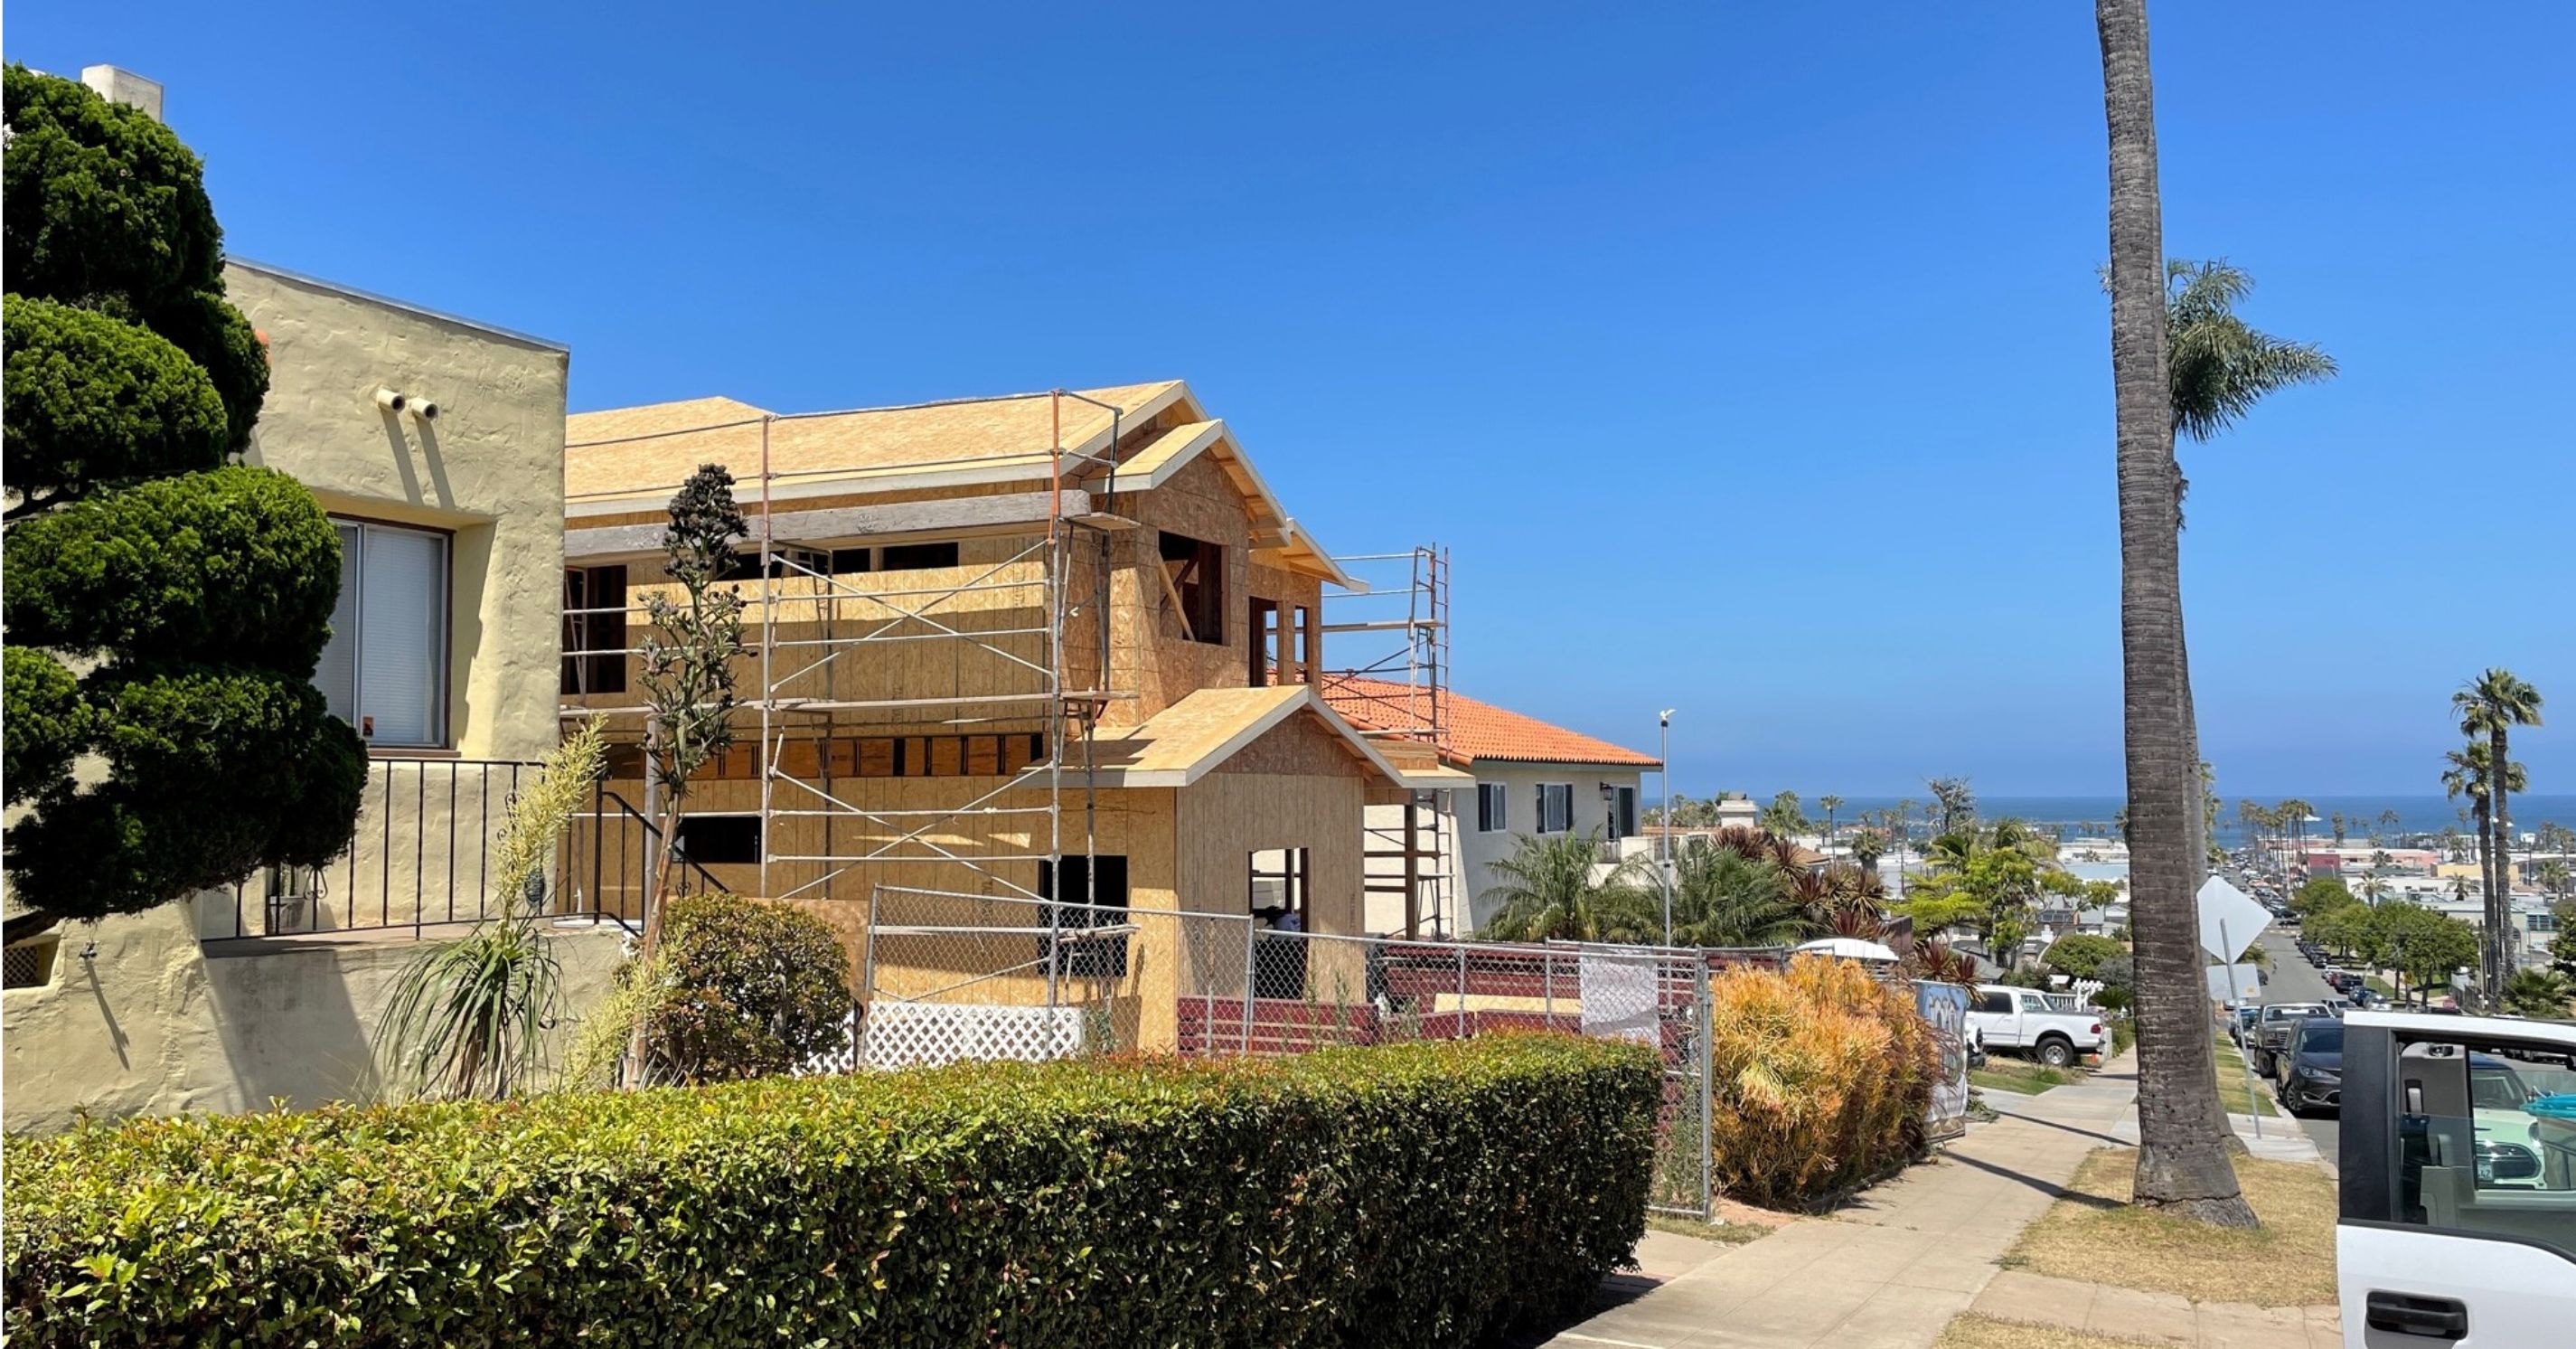
Once demo is complete and any hazardous conditions are resolved, framing begins. Framing is when the new layout of your home takes physical shape — new walls go up, openings are created, structural beams are set. If you’re adding square footage, the new addition’s foundation and exterior walls are framed at this stage.
Framing is one of the best moments to walk the space with your project manager. Seeing the physical dimensions of rooms before walls are closed helps catch layout issues that are easy to fix now and very expensive to fix later.
Phase 2: Mechanical Rough-In
Phase 2 is the least visually exciting phase of a remodel — and one of the most important. This is when the systems that run behind your walls are installed.
Electrical
New circuits are run from the panel to every outlet, switch, fixture, and appliance location. If your project requires an electrical panel upgrade (common in older San Diego homes adding new circuits), that happens now. Your electrician works from the engineer’s drawings and the architect’s reflected ceiling plan to route wiring before walls are closed.
Plumbing
New supply and drain lines are run to every plumbing fixture location — sinks, showers, tubs, toilets, dishwashers, and outdoor hose bibs if applicable. In San Diego, all plumbing work requires licensed plumbing contractors, and changes to drain lines often require opening the slab or trenching under the foundation.
HVAC
New ductwork, registers, and equipment are installed or modified to serve the renovated space. In San Diego’s climate, HVAC design for additions and whole-home remodels requires sizing calculations to ensure adequate airflow throughout the expanded home.
Inspections
After mechanical rough-in, city inspectors visit the job site to inspect electrical, plumbing, and framing before walls are closed. These are required inspections — not optional — and work cannot proceed until each inspection passes. Your contractor schedules and coordinates all inspections.
Phase 3: Insulation, Drywall, and Finishes
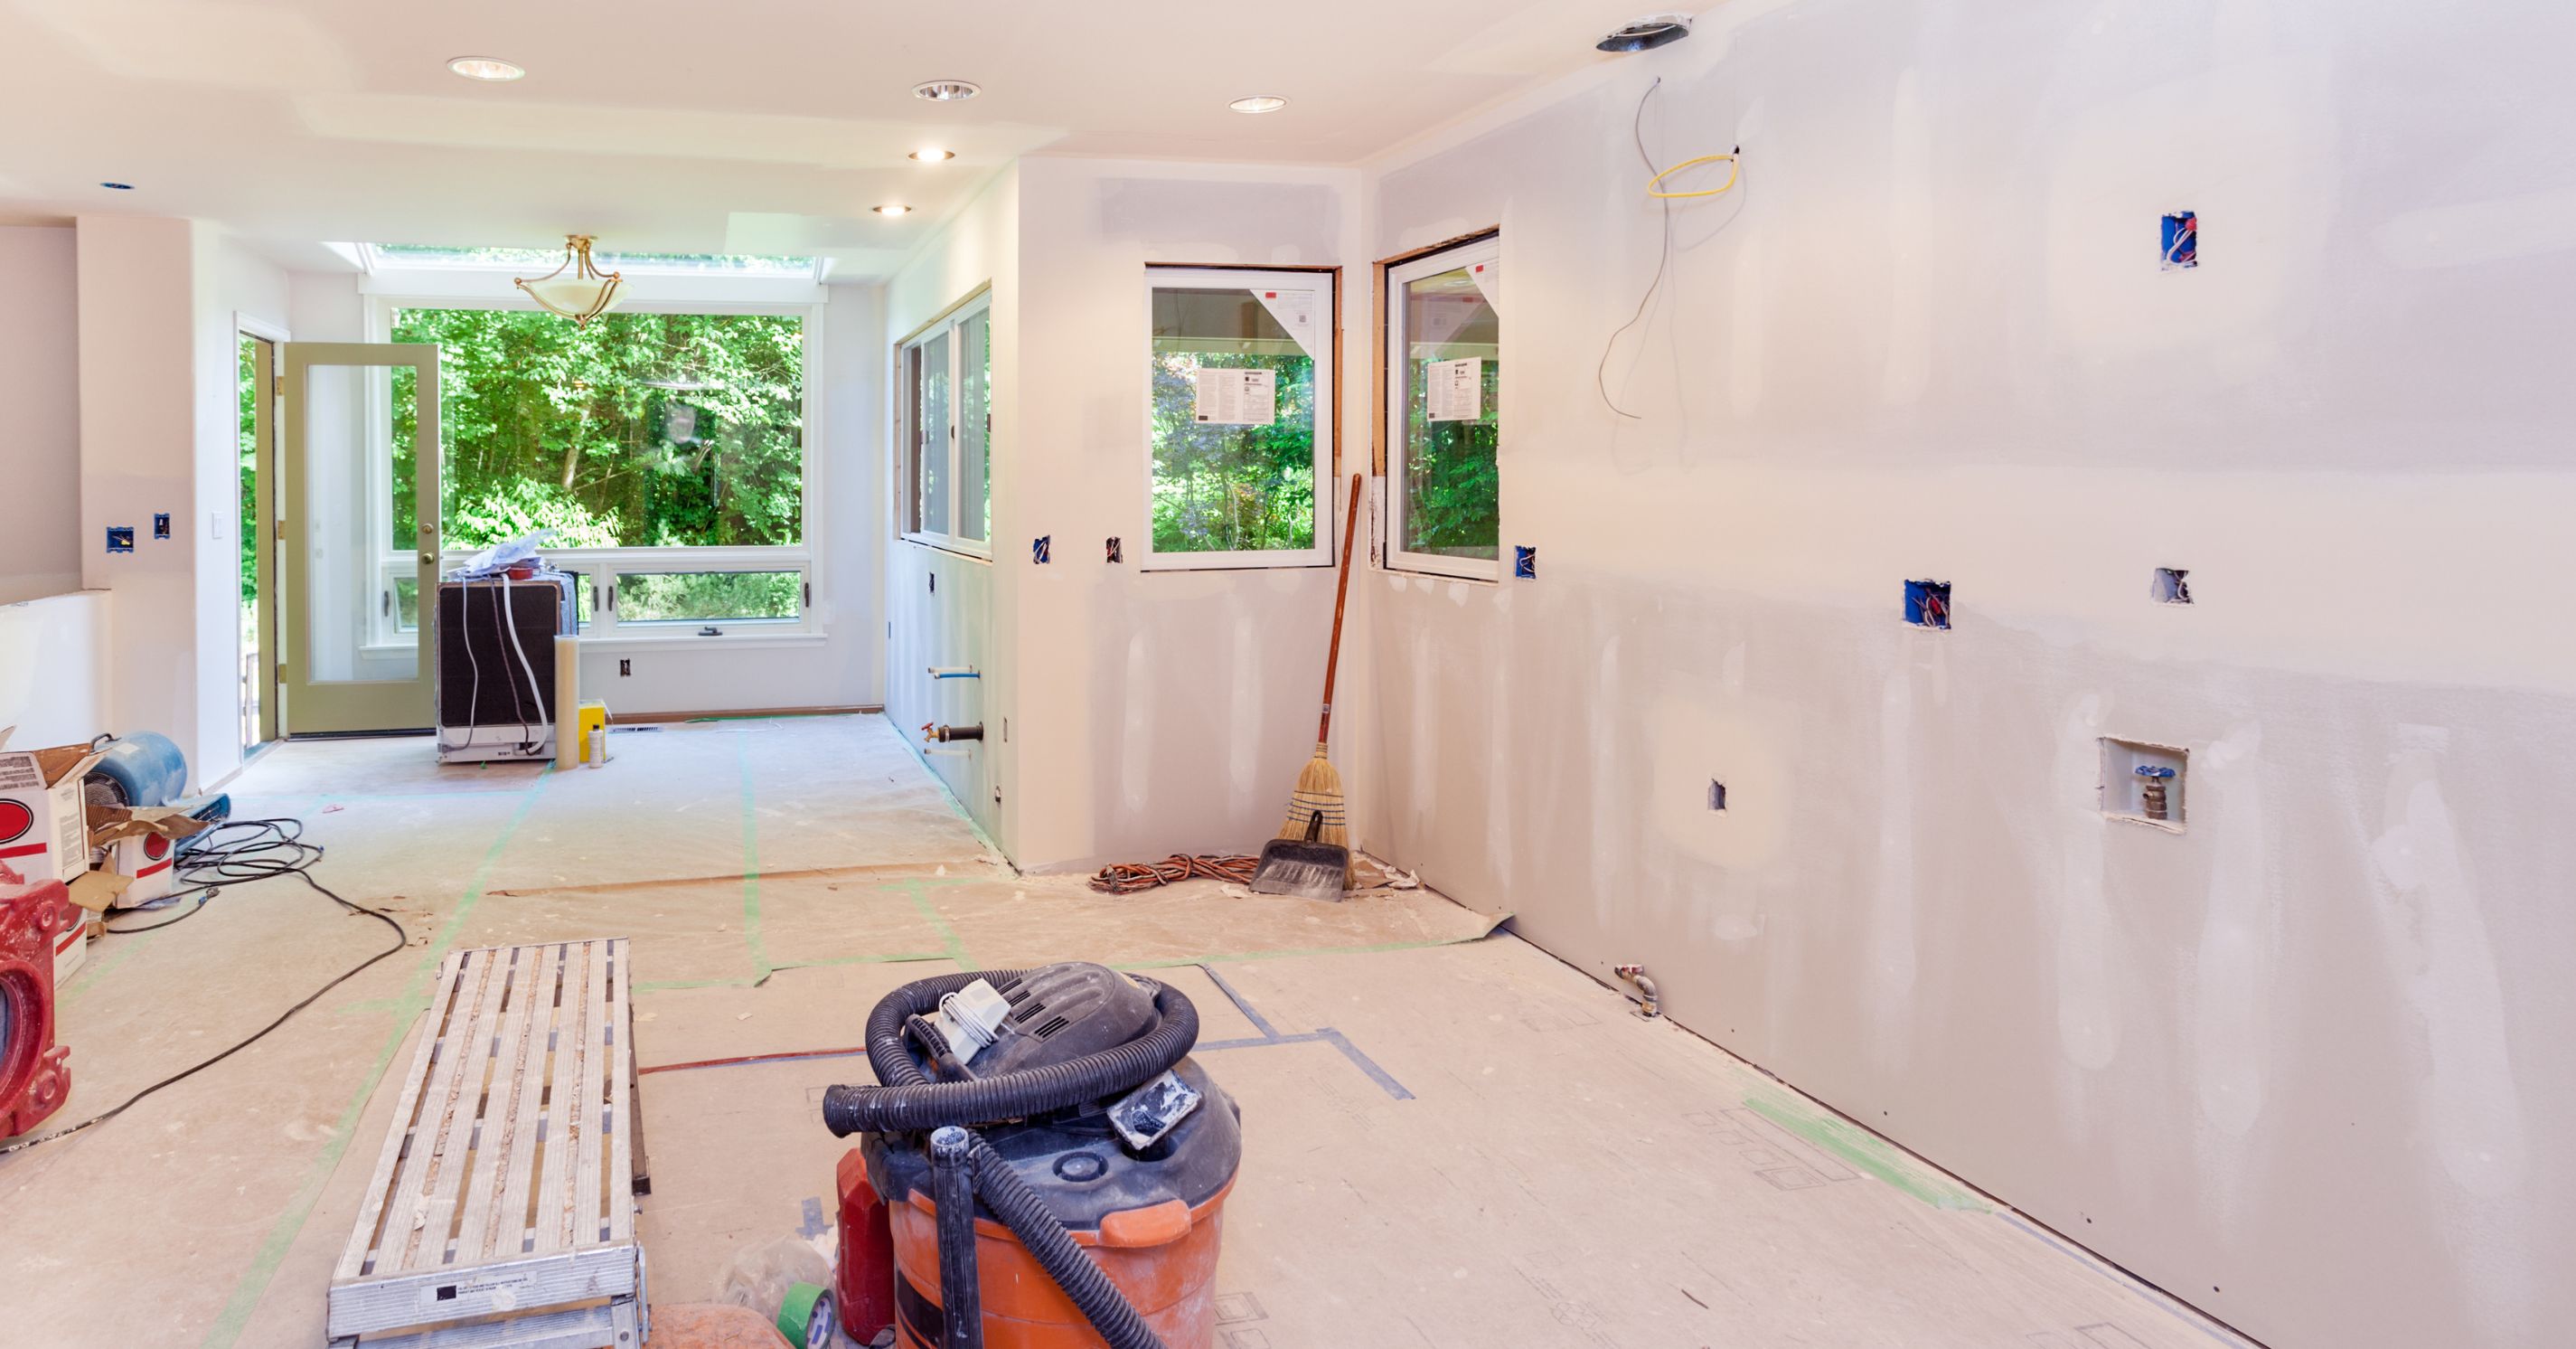
Phase 3 is when the home starts to look like a home again. After inspections clear, walls are closed and the finish sequence begins.
Insulation
Wall and ceiling insulation is installed before drywall. In San Diego, energy code requires specific insulation values (R-values) for new walls and ceilings — your contractor works to current Title 24 requirements.
Drywall
Drywall is hung, taped, mudded, and textured. This process takes longer than most homeowners expect — multiple coats of joint compound with drying time between each, followed by sanding and texture application. In San Diego, smooth finishes and skip-trowel texture are both common depending on the home’s architectural style.
Trim carpentry
Baseboards, door and window casings, crown molding, and built-in millwork are installed. Custom trim and built-ins are typically fabricated off-site and installed once the drywall is complete.
Cabinetry
Kitchen cabinets, bathroom vanities, and built-in storage units are set. Cabinet installation is a precision operation — level, plumb, and properly secured to framing. Your designer should be on-site or available for decisions during cabinet installation.
Tile and flooring
Tile work begins after cabinets are set (so tile can be cut to cabinet dimensions). Hardwood, LVP, and other flooring typically goes in after tile and painting are complete to avoid damage.
Plumbing and electrical trim
Fixtures, outlets, switches, and cover plates are installed after paint. Plumbing fixtures — faucets, toilets, shower valves, tub fillers — are set and connected. Appliances are installed and commissioned.
Painting
Prime coats go on after drywall; finish coats go on after tile, before flooring and fixtures. Touch-up painting happens at the very end of the project after everything else is complete.

Phase 4: Final Inspections, Punch List, and Closeout
Final inspections
The city conducts final inspections to confirm all work was completed per the permitted drawings and code. A certificate of occupancy (or final inspection sign-off) is issued when the project passes. Your contractor manages this process.
Walk-through and punch list
Your project manager walks the completed space with you — room by room, in detail. Every item that isn’t exactly right goes on the punch list: a cabinet door that doesn’t close cleanly, a paint touch-up, a fixture that needs adjustment. The punch list is normal and expected — it’s the contractor’s formal commitment to get every detail right before closeout.
Cleaning
A professional post-construction clean is performed before the walk-through. Construction dust infiltrates everything — even rooms that were closed off. A thorough cleaning reveals the finished work as it’s meant to be seen.
Warranty period begins
At Lars, the warranty period begins after the punch list is complete and the project is signed off. Our warranty covers workmanship and materials — your project manager provides full warranty documentation at closeout.
How Long Does Each Phase Take?
Pre-construction (design + permits + procurement): 8–16 weeks depending on project complexity and permit review time
Phase 1 (demo, hazmat, framing): 1–4 weeks
Phase 2 (mechanical rough-in + inspections): 2–4 weeks
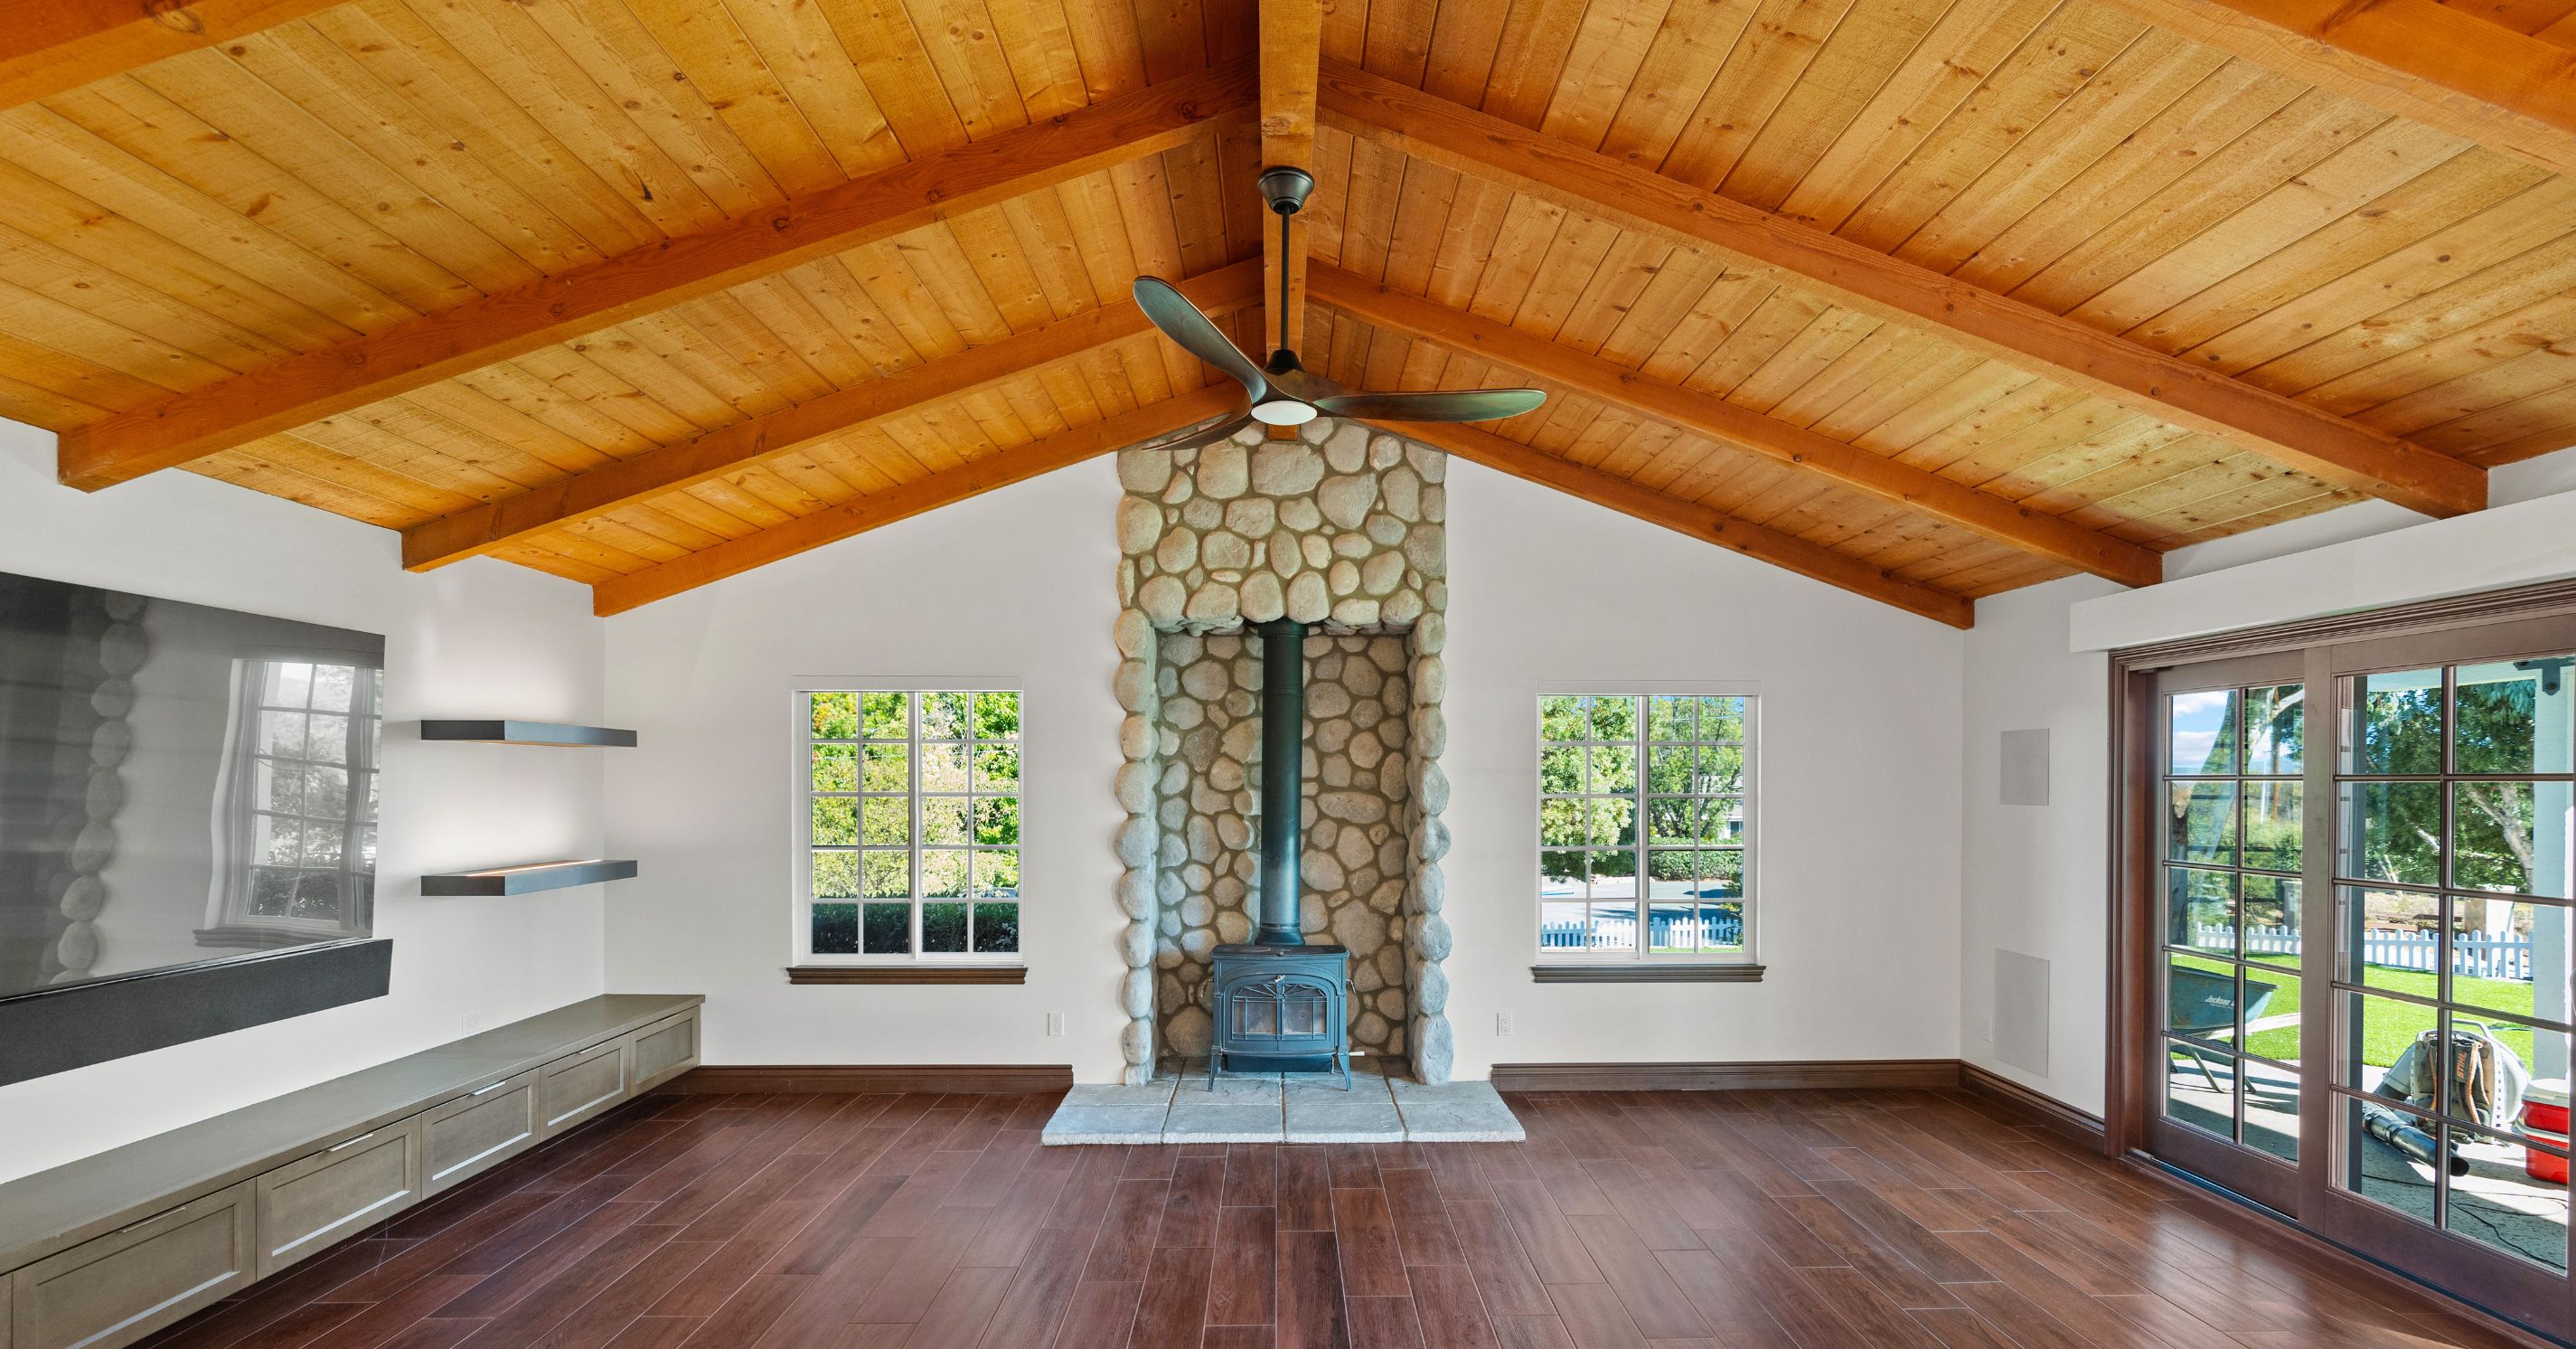
Phase 3 (insulation through fixtures): 4–10 weeks — the longest phase, most variable
Phase 4 (inspections, punch list, closeout): 1–2 weeks
For tips on living through the construction phases safely and comfortably, see our guide to protecting yourself during a remodel.
Lars Remodeling & Design: Managing Every Phase in San Diego
Lars’s project management process is built to keep homeowners informed and in control at every phase. Your project manager provides weekly updates, proactively flags anything that requires your decision, and maintains a clear schedule so you always know what’s coming next.
Whether you’re planning a kitchen remodel, a home addition, or a complete whole-home renovation, the four phases are the same — the scope and timeline just expand with the project.
Ready to start planning your next professional kitchen remodeling project? Lars Remodeling & Design offers complimentary consultations for San Diego homeowners. Call 858.279.6300 or book at larsremodel.com.